
Have you ever faced a situation when your website is not sending emails properly or at all? It could be emails sent to users for notifications, forgot password emails or emails sent to customers when they sign up using a contact form or order any product. Emails received by customers/users can also be flagged as spam or suspicious if the Simple Mail Transfer Protocol (SMTP) is not set up properly.
Why set up SMTP for your WordPress/WooCommerce website?
Setting up the Simple Mail Transfer Protocol (SMTP) is very important for a WordPress website, especially WooCommerce websites as email notifications are imminent for sending customers updates about their accounts and purchases made.
It is quite simple to set up SMTP using Cloudways. In this article, we will discuss a step-by-step process on how to set up SMTP easily on Cloudways.
Step 1: Open your Domain Name System (DNS) settings inside your domain provider
Log in to your Domain provider open the DNS settings and navigate to your DNS records. This is where we will be adding the necessary records for our DNS to be connected to the SMTP.
Step 2: Add the necessary records from Cloudways
Cloudways has their records that need to be added to the DNS records, for emails to be connected to the Domain.
Four main records need to be added: SPF, DKIM, Tracking and DMARC. Here is the link to the page that has all the records: https://support.cloudways.com/en/articles/5130879-how-to-activate-the-elastic-email-add-on
We have also added the records below:
SPF
Type: TXT
Name/Host/Alias: @
Value/Answer/Destination: v=spf1 a mx include:_spf.elasticemail.com ~all
DKIM
Type: TXT
Name/Host/Alias: api._domainkey
Value/Answer/Destination: k=rsa;t=s;p=MIGfMA0GCSqGSIb3DQEBAQUAA4GNADCBiQKBgQCbmGbQMzYeMvxwtNQoXN0waGYaciuKx8mtMh5czguT4EZlJXuCt6V+l56mmt3t68FEX5JJ0q4ijG71BGoFRkl87uJi7LrQt1ZZmZCvrEII0YO4mp8sDLXC8g1aUAoi8TJgxq2MJqCaMyj5kAm3Fdy2tzftPCV/lbdiJqmBnWKjtwIDAQABTracking
Type: CNAME
Name/Host/Alias: tracking
Value/Answer/Destination: api.elasticemail.comDMARC
Type: TXT
Name/Host/Alias: _dmarc
Value/Answer/Destination: v=DMARC1; p=none;Click on the “Add new record” option in your DNS records and add the records given above.
Some DNS settings might not allow adding @ for the host, in that case, you may add your domain. For TTL, you may add a custom value of 600 seconds.
Step 3: Set up Elastic email in Cloudways
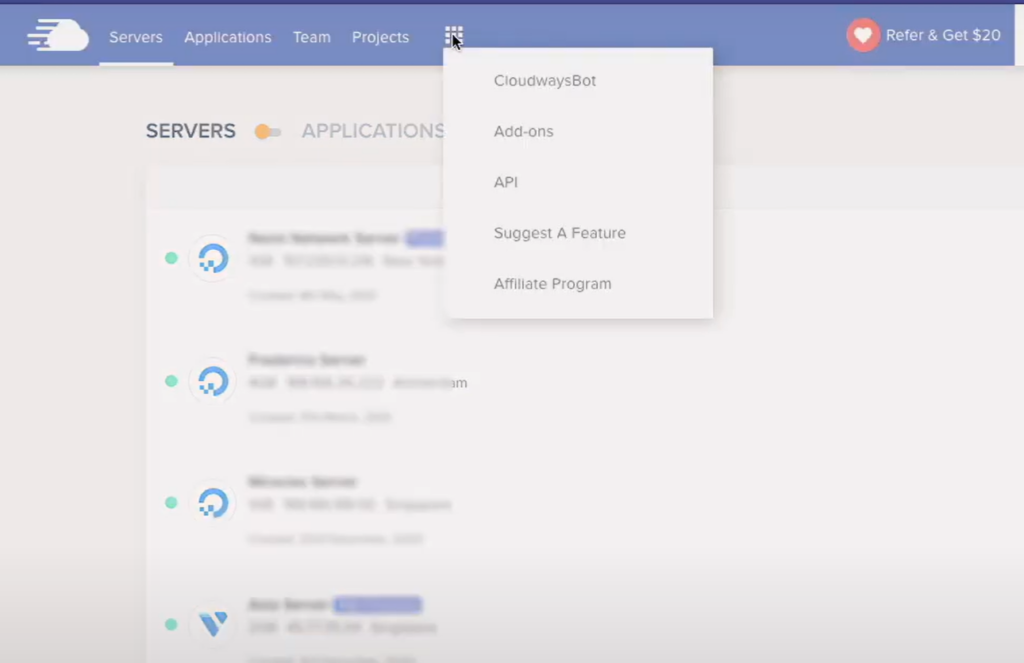
Sign in to your Cloudways account and click on Addons under More Options
On the Addons page, you will find Elastic Email, which is the name of the SMTP provided by Cloudways.
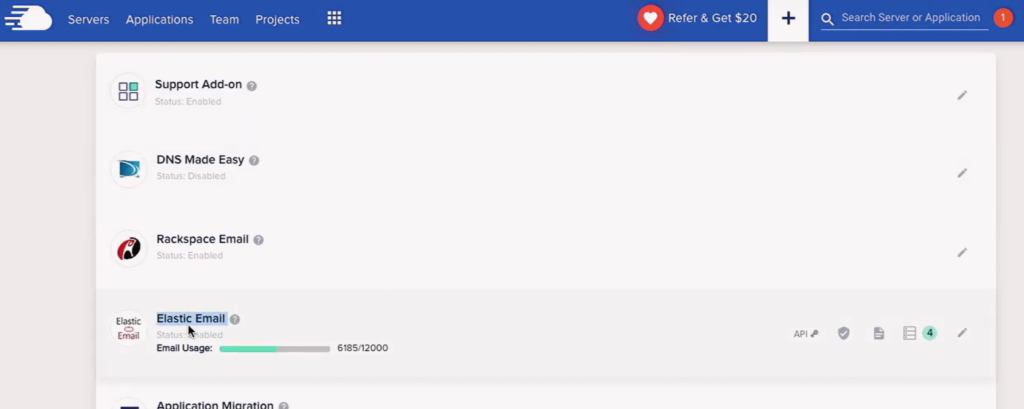
If it’s your first time then you will have to purchase a relevant plan. Click on the pencil icon on the right to purchase your plan.

Once you have purchased a plan, head over to Servers and select the server in which your website is stored. Click on SMTP from the list of options on the left and choose the SMTP that you want.

If you have a 3rd-party SMTP, you can select Your Own SMTP. But if you are using Cloudways Elastic Email, select Elastic and enable it.

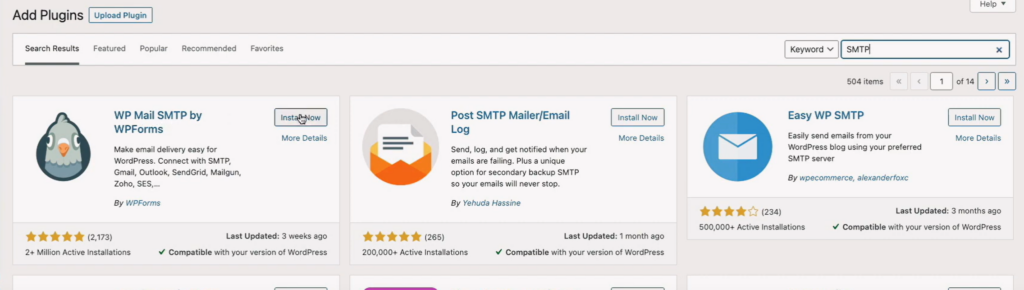
Step 4: Install and configure a good SMTP plugin for your WordPress site
Inside your WordPress dashboard, click on add new under the plugin option. Search for SMTP and install a good SMTP plugin. We will be using WP Mail SMTP by WP Forms.
Under the plugin settings, set Your Email and Your Name options. Your Email is the email address from which the email is sent to the user/customer. Generally, it is a business email that looks like [email protected]. Your Name is the name you want to be displayed in the emails, for example, if it is your website, you could use your own name or the name of an employee.
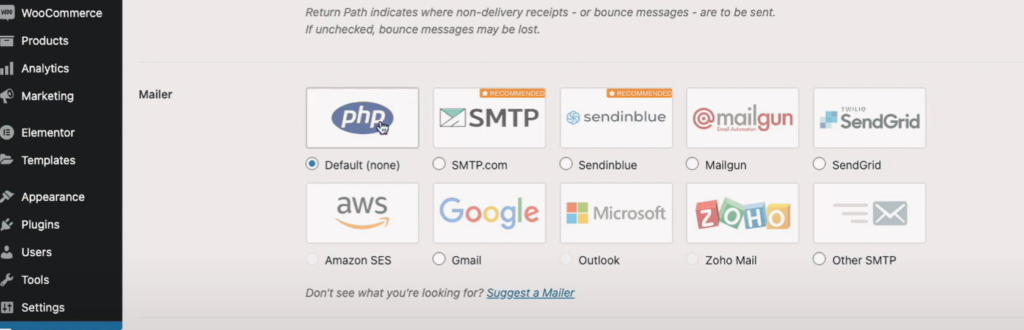
The last thing is to set up the Mailer, which is basically the SMTP provider. As we are using the SMTP provided by our hosting provider (Cloudways in this case), we will select PHP.
Step 5: Test the SMTP setup
Go back to Elastic Email, on the Addons page on Cloudways and click on the shield icon.

Here we can verify if everything is connected and running properly. Enter your domain and click on Verify Domain.
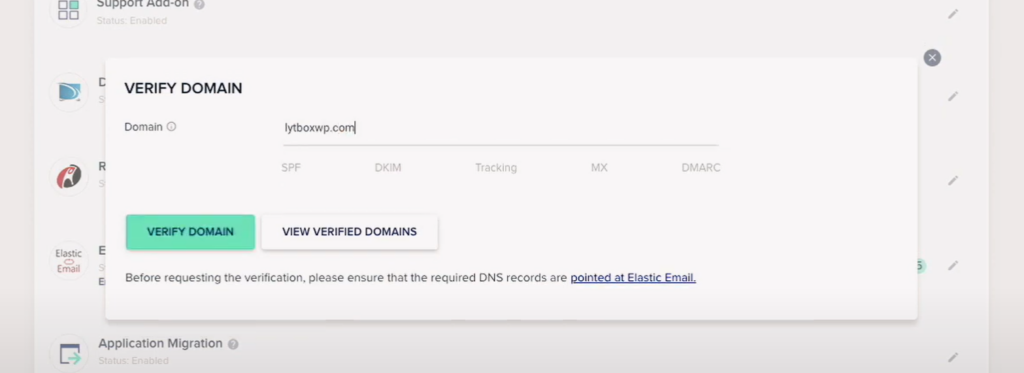
Once the verification is complete, you will see which records are connected. Records that are connected will appear in green and the ones not connected in red.
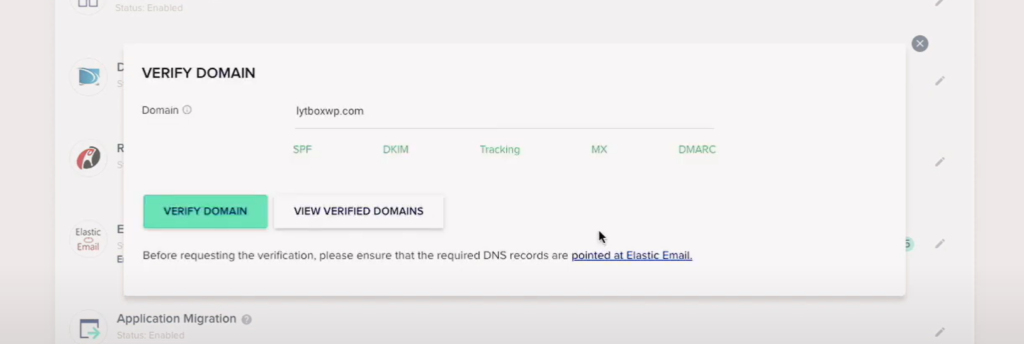
If you find a record in red, check that record entry in your DNS settings. You can always contact Cloudways support to help you with any issues.
Last, but not least, go to SMTP in your server settings and run a test email to check if the emails are coming through.
Conclusion
Now you have your SMTP set up, so emails should be coming through properly. The most important steps are definitely adding your records properly and checking if they are connected.
Now that your emails are set up it might be time to create email campaigns and set up auto-responding emails to contact form signups.
Check out our article on how to set up Auto responding Emails using Elementor forms: https://lytboxacademy.com/auto-responding-emails-with-elementor/
For a guided tutorial check out our YouTube video: